Why It Works
- Using high-protein bread flour in combination with autolyse creates a strong gluten network in the dough that traps small air bubbles for a light, chewy loaf.
- Incorporating a “golden paste” of egg yolk, oil, honey, and flour into the dough allows for proper gluten development.
- The option of an overnight fermentation in the refrigerator means that you can start and finish the challah on the same day, or you can divide the tasks between two days to accommodate your schedule.
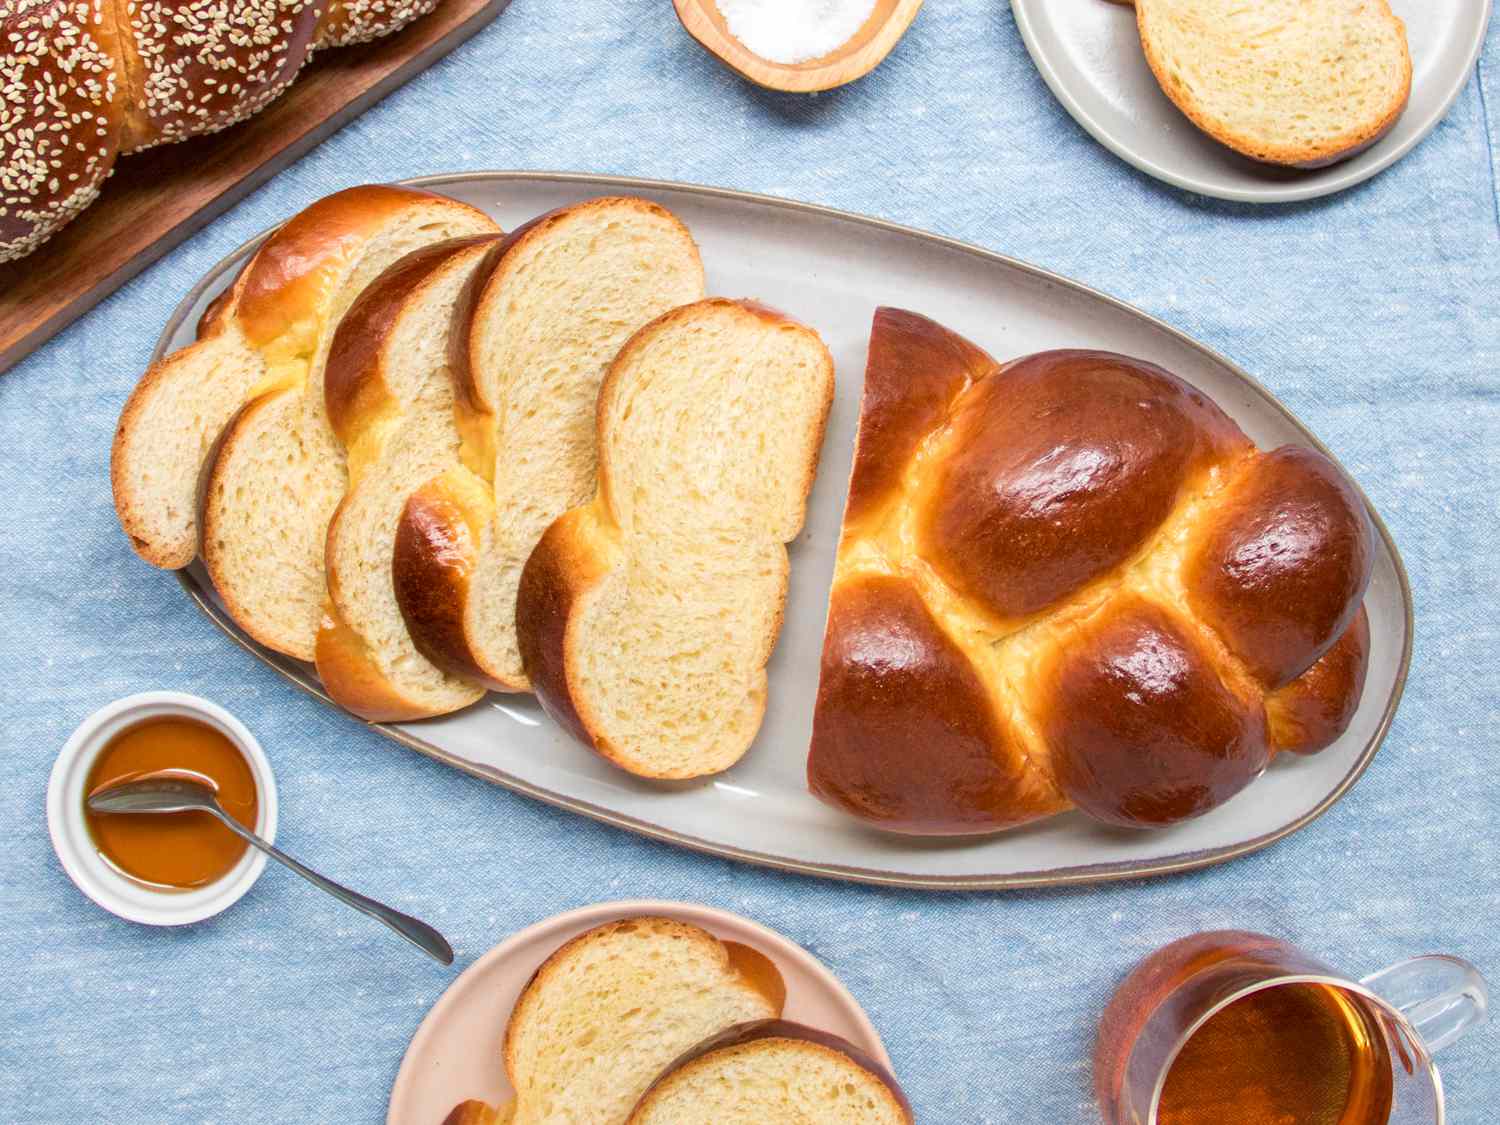
Challah, the ubiquitous Jewish Sabbath and holiday bread enriched with eggs, oil, and sugar, has a surprising history. The sweet, eggy bread is now commonplace in American culture, but for the majority of Jewish history, the Hebrew word “challah” simply meant a small portion of the Sabbath bread’s dough that was burned as a symbolic gift to the kohanim (priests) in ancient Israel. It wasn’t until the 15th century that challah began to refer to the loaf we know now with its iconic braided shape.
Today challah is eaten on Shabbat and Jewish holidays such as Rosh Hashanah, and its pillowy soft texture and rich flavor have also made it popular for French toast and bread pudding in many US households—something that my Jewish grandmother never would have done, but an excellent use for the bread nonetheless! Making the show-stopping, mahogany braided loaf may seem like an intimidating project, but creating the supple egg enriched dough and getting a perfect braid are something you can easily do at home, and I encourage you to do so. Here is my guide to the key ingredients and the mixing and shaping techniques for making bakery-worthy challah at home.
Serious Eats / Debbie Wee
The Key Ingredients in Challah
The Flour
When I started devising my ideal challah, I initially tested using whole-wheat flour in the recipe. I love the nutty deep flavor of baked goods with whole wheat flour, but found early versions were unappealing, flat, and gummy in texture due to the lack of gluten in the flour. In my subsequent research, I learned that white flour has been the ideal for Shabbat loaves since the early medieval period, according to multiple sources, including Gil Marks’ Encyclopedia of Jewish Food. More recent recipes are divided between those that use all-purpose flour and higher protein bread flour. I found in testing that bread flour, with its higher gluten percentage produces a stronger, more manageable dough that is easier to shape with a better defined braid. Challah made with bread flour also had a more satisfying chewy texture.
The Sweetener
I originally wanted to sweeten the loaf with all honey—challah is customarily dipped in honey on Rosh Hashanah, and I wanted to echo the floral sweet flavor in the dough. But I found that loaves made with all liquid honey were too wet to shape and braid. The solution was using a combination of both granulated sugar and honey; this created the sweetness I wanted in the loaf with a hint of honey flavor and gave the dough the ideal texture for braiding.
Serious Eats / Debbie Wee
The Eggs
Eggs, and especially their yolks, contribute flavor, color, richness, and tenderness to challah. Additionally, as Harold McGee writes in On Food and Cooking, eggs “supplement [the] gluten structure with tender protein coagulum” and they also “slow staling.” Egg benefits the bread when used both in the dough and as a final egg wash. When brushed on before baking, the egg wash enhances the loaf’s deep amber hue and produces its signature glossy varnish.
The Fat
Unlike many other enriched breads, a truly kosher challah is made without dairy or meat derivatives, relying on vegetable oils and egg yolks for fat—which are considered pareve, or neither dairy nor meat. This is a result of the kosher requirement that dairy not be served with meat (the latter of which is likely to appear on the traditional Shabbat table). Some recipes call for a neutral-flavored oil like canola in the bread, but I’m fond of the fruity, bitter notes that extra-virgin olive oil adds. It also enhances the dough with a subtle green-gold hue that I love.
Key Steps in the Mixing Process for the Best Challah
Sure, you could mix all of your challah ingredients together at once, knead vigorously, shape, and bake, and you’d have a perfectly OK loaf. But experience has convinced me that working the following steps into the pre-shaping process ensures a next-level foolproof challah loaf everytime.
Rely on an Autolyse
After moistening the flour and yeast with water and eggs to form a shaggy mass, it’s important to let the roughly mixed dough sit for 15 minutes. This is known as autolyse. According to Ken Forkish’s Flour Water Salt Yeast, during this brief rest, the flour has time to hydrate and amylase enzymes begin to break down the complex carbohydrates into simple sugars the yeast can feed on, without salt interrupting this process. It also gives gluten structure a sort of head start, meaning that the dough will require much less mixing and kneading further down the line; this also means less work for us, the bakers. You can also read more about autolyse in our breadmaking 101 guide.
Serious Eats / Debbie Wee
Add a Golden Paste
Since the challah is enriched with liquid fats—oil and egg yolks—it can be challenging to knead the wet ingredients into the dough without the dough turning too soft and slack. Sticky, wet dough won’t hold its braided shape once baked. To avoid this, instead of just adding the liquid ingredients all at once to the dry ingredients when mixing, I instead incorporate what I refer to as a “golden paste,” a method I came up with, inspired by the French technique for slowly incorporating butter into brioche.
I combine a small portion of flour with the oil, yolks, and honey until a manageable soft paste is formed. This paste can easily be mixed into the dough in small pieces without the dough turning too wet or greasy. It’s a similar technique to slowly incorporating softened butter into a traditional brioche dough, but instead of butter, it’s the soft golden flour and oil paste. This is an easy and mess-free way to enrich the dough with oil and eggs, and it produces a dough that is less sticky and easier to work with than if all the ingredients were mixed at once.
Shaping and Braiding Challah
Jewish people have enjoyed fresh bread at their Friday Sabbath, or Shabbat, meal since antiquity, but, according to Gil Marks’ Encyclopedia of Jewish Food, it wasn’t until the 1400s that “Jews in Austria and Southern Germany adopted…an oval, braided loaf, modeled on a popular Teutonic bread.” The stranded bread, with its resemblance to braided hair, was said to ward off a demon-witch named Berchta, or Holle (the similarity between “challah” and “Holle” is coincidental, from what I can tell). Marks is quick to point out that “Although European Jews certainly did not worship or even to a large extent know anything about Berchta or Holle, they [nevertheless] assimilated the attractive bread.”
While some ambitious bakers go for a four- or even six-strand braid, here I stick with the basic three-strand braid. It’s still impressive and gorgeous, but I can rely on muscle memory to make it without needing to watch any YouTube videos to remember where each strand of dough goes. Should you want to try a more ambitious braid, know that many such videos exist!
To make a great challah braid that holds its shape once baked, there are a few key steps. Start by gathering each piece of dough into a tight ball and then letting the balls of dough rest for at least 15 minutes. This allows the gluten to relax enough so that you can further flatten it to a puffy pancake. After the dough has rested, roll it into a log before continuing to roll it out further. These steps further develop gluten and form tighter air bubbles in the dough, which ensures that each braided strand will have the strength to expand with ease while holding its shape when baking. When sliced open, the baked loaf will reveal an appealingly arranged constellation of small air bubbles in its cross section, and when ripped apart, the bread will separate into a series of fine, velvety, elastic strips.
Serious Eats / Debbie Wee
Proofing and Baking Challah
One of the beauties of this recipe is that you can decide: challah today or challah tomorrow? I’ve written this recipe so the dough is proofed at room temperature for just a few hours before shaping and baking, but after its first proof, the dough can be punched down, covered, and refrigerated for up to 24 hours before shaping and baking.
Breadmakers will often insist that a longer cold fermentation produces a more flavorful and richly colored, longer-lasting loaf than one proofed in less time at warm room temperature. But I found that after making multiple loaves with both the shorter room temperature proofing and the longer cold proofing time, I simply couldn’t taste or see a large difference. The reason I offer an overnight cold proof is that it allows you to divide up the tasks to fit into your schedule: Day one entails dough prep and bulk fermentation (first proof); day two is for final shaping and baking. But it’s good to know that when you want to start and serve a delicious loaf within the span of a few hours, it’s perfectly doable and will still produce a gorgeous loaf.
I’ve also included instructions for making either one very large and impressive loaf that’s perfect for larger gatherings, or two medium-sized loaves that can be served together. You can also give the second loaf as a gift or wrap and freeze it for later.
Trending Products